What Is Contour Makeup and How To Master It?
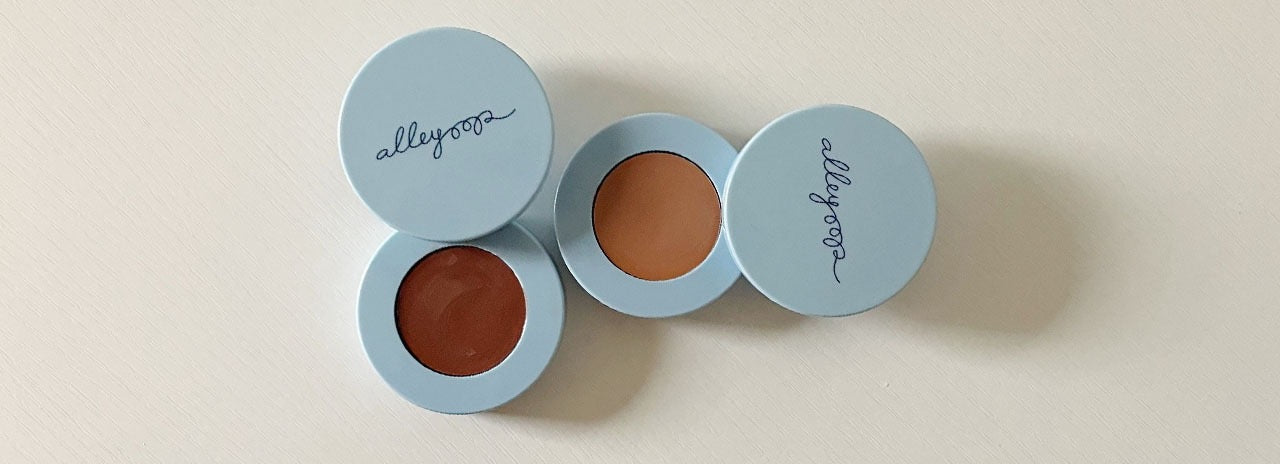
Over the last several years, contour makeup has become popular among influencers, makeup artists, and celebrities who make it all look super easy and flawless. But have you ever wondered how they got their perfectly chiseled, natural-looking face from contouring?
Yes, they might have a personal makeup artist, but the good news is now you can achieve the same fresh, chiseled look at home with a few of your favorite beauty products!
Contouring has many positives, including adding subtle definitions to specific features you may want to enhance. Contouring techniques also use shadow and light to enhance your angles and create a natural, glowing skin tone.
Fortunately, you can define your natural face shape and bone structure with five simple steps and minimal products to add to your routine. We know you’re busy, and your time is valuable, which is why we’ve made a guide to contouring that still makes room in your life for what matters!
Let’s explore what contour makeup is and how to master it quickly and efficiently!
What Is Contour Makeup?
The benefits of adding contouring to your beauty routine are extensive, but you still may be wondering what exactly is contouring.
Contour makeup helps define and accentuate specific facial features such as higher cheekbones, a more defined chin or jaw, or a thinner bridge of your nose or sides of the nose. Contouring uses lighter and darker colors to bring shadow and light to your facial features, instead of your daily foundation that should be the same color as your natural skin color.
In addition, contouring is ideal for adding to your beauty routine because you may already have the beauty products on hand. With a few simple products, you can still have an efficient, practical, and fuss-free makeup routine for a flawless, natural look by doing more with less.
When contouring first became famous through professional makeup artists, celebrities, and influencers, the focus was on a much more chiseled, unnatural contouring method. It lacked the more natural sculpting technique that has become popular in our society’s demand for more authenticity and appreciation of the facial features and skin we already have.
Thankfully, now it’s possible to have a healthy glow through more natural contouring.
What Products Do You Need to Contour?
The best part about contouring your makeup is you probably already own all the products you need to learn how to define your favorite features in a natural, fuss-free routine.
Of course, you can buy specific contour makeup like powders and creams; however, it’s just as possible to master contouring your makeup with your favorite go-to foundation, bronzer, and highlighter.
There are a couple of things to keep in mind when choosing your products to contour.
First, your bronzer should be a couple of shades darker than your natural skin color, and your highlighter needs to be a couple of shades lighter than your natural skin color to contour correctly.
You don’t want your contour products the same as your skin color because it would negate the ability to enhance or hide certain facial features and add dimension. However, your makeup routine will still be accessible and no-fuss while highlighting your best features with a contoured makeup look.
Trying new makeup techniques can be tricky, but our team at Alleyoop has put together our favorite how-to guide for mastering contouring with practical, easy-to-follow steps. We’re here to help you master how-to look and feel your best without overcomplicating your beauty regime!
Six Steps To Master Contour Makeup: The Ultimate How-To Guide
Let’s now break down the six simple steps you should take to determine if contouring is ideal for your regular beauty routine.
1. Prep Your Base
The first step is to prep your face for contouring by starting with a clean canvas. Remove any leftover makeup if you haven’t already, and wash your face gently and thoroughly. Pat your face dry and exfoliate, only if it’s time in your beauty routine to remove any dead skin build-up. Next, apply your skincare products as usual.
Don’t forget your SPF! This step ensures you have a smooth, clean finish to contour.
2. Apply Your Go-To Foundation
Opinions in the beauty industry differ on whether you should apply your everyday go-to foundation before or after your contour makeup. However, it is best to go ahead and use your regular foundation formula in your skin tone to ensure you are evening out your complexion and creating a flawless foundation for you to contour.
Apply your concealer as well, if you need to use any, particularly in the eye area, at this step to create a flawless base layer.
3. Make a Plan
After applying your regular foundation color and concealer, if necessary, it is best to make a plan for deciding what areas of the face you want to highlight and what areas you want to soften. A few of the most popular places include the jawline, the nose, the top of your cheekbones or hollows of your cheeks, or the temple area.
You could also contour along your hairline. If you’re not sure at this stage what is best for your face shape, don’t worry! Instead, experiment and try new techniques to see what you like for yourself.
Every face and skin is unique, and whatever makes you look and feel your best is what you should do!
4. Apply a Bronzer or a Contour Shade Foundation Color
In general, it is best to use a bronzer or foundation color that is a couple of shades darker than your natural skin color. The darker shades will help draw attention away from areas you don’t want to highlight.
For example, maybe you want sharper cheekbones or a softer nose. Apply a darker foundation or bronzer in areas your face would naturally be in the shadows from the sun.
A few other possible areas to divert attention away from on your face include:
- Below your hairline
- Along the sides of your nose
- In the cheek area
- Along the jawline
Your skin type and face shape will help you determine what areas you want to focus on in this step. Remember, with bronzer and darker shades of foundation, less is more.
5. Apply a Highlighter or a Lighter Shade Foundation Color
Applying a highlighter or lighter shade of foundation will highlight your favorite facial areas. Highlighting is for the areas on the face that light would naturally hit, such as the nose, cupid’s bow, brow bone, cheekbones, and forehead.
Highlighting is an essential step in contouring because it enhances your natural beauty and gives your contour a naturally glowing and flawless look.
6. Blend Well
Use whatever blending brush or makeup sponge you have on hand and gently sweep back and forth to give your entire look a flawless, even look. Be sure to mix well, but mix gently. There’s no need to be rough or apply too much pressure to your brush or sponge.
What Contour Color Should You Use?
Finding the right contour shade depends on your natural skin color; thus, highlighting specific features and hiding others.
We know how difficult it can be to find the right shade of foundation colors, especially contouring. So, we’ve created a simple guide to make it easier. We all want to avoid the unnatural line of demarcation when applying our foundation, and contouring is no different.
Let’s jump in!
Light or Fair Skin Tone
It can be a challenge for those with fair skin tones to find because they tend to get too dark too quickly. If you choose a foundation and bronzer color that is no more than a couple of shades darker than your regular everyday go-to foundation, you should be fine.
You don’t want any shades that will appear too harsh in natural lighting, either. Going for two shades darker for diminishing or lighter, will enhance certain areas and create a natural, seamless look.
Medium or Tan Skin Tone
If you have a medium or tan skin tone, you have much more flexibility in the product color range. However, it’s still vital to take your time when choosing your shades and make sure the products you choose don’t leave any unnatural foundation lines.
Dark or Deep Skin Tone
For dark or deep skin tones, your highlighter color will be your best friend because it will add definition and natural-looking highlights to your favorite facial features.
How To Minimalize Your Contour Makeup Routine?
Okay, so now you may be thinking learning to contour my makeup sounds excellent, but I don’t have any extra time in my beauty routine. Less truly is better when it comes to contouring or any makeup routine in general.
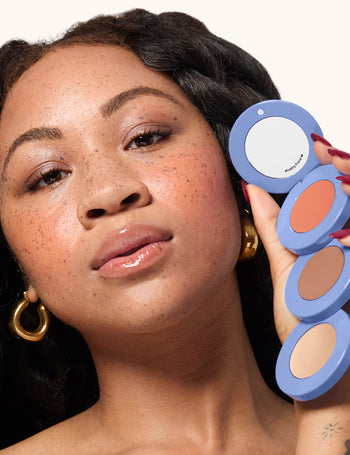
For example, our stack the odds 3-in-1 stackable compact includes your blush, bronzer, and highlighter all in one convenient (TSA-approved!) contour palette.
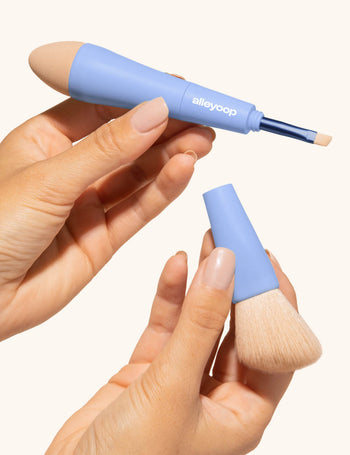
Furthermore, our multi-tasker 4-in1 makeup brush has a concealer sponge, brow, and eyeshadow brush to make your contour routine as effortless as possible with everything you need for a full face in one travel-friendly applicator.
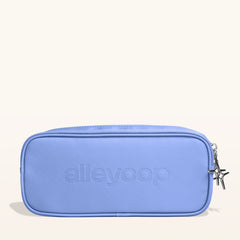
If you’re just now getting started building your makeup kit, our beauty starter kit is perfect for getting you going. It has everything you need for a full face in half the time, including your contour routine, and everything comes in a travel-friendly clear cosmetic bag to make your morning makeup do more so you can too!
Want to learn more about simplifying your beauty routine?
Simply take our short declutter quiz to see how much time you spend on self-care and receive a personalized bundle of compact, multi-functional, time-saving products.
Summary
All in all, contouring can provide an excellent way to give you flawless sculpting that highlights all your best features. You can quickly and easily master your contouring routine with a few simple products and techniques. But, always keep in mind that the right shades of foundation, bronzers, and highlighters are what will make your contour makeup as effortless and natural-looking as possible.
Have you already simplified your beauty routine? We’d love to hear about it. Join the #alleyooptroop
Sources:
Best Contouring Makeup Tips - Contouring Tutorial for Beginners | Elle
How to Contour for Your Face Shape for Beginners in 2020 | Cosmopolitan
'Soft Sculpting' Will Give You the Most Natural Contour—Here's How to Get the Look | Vogue


